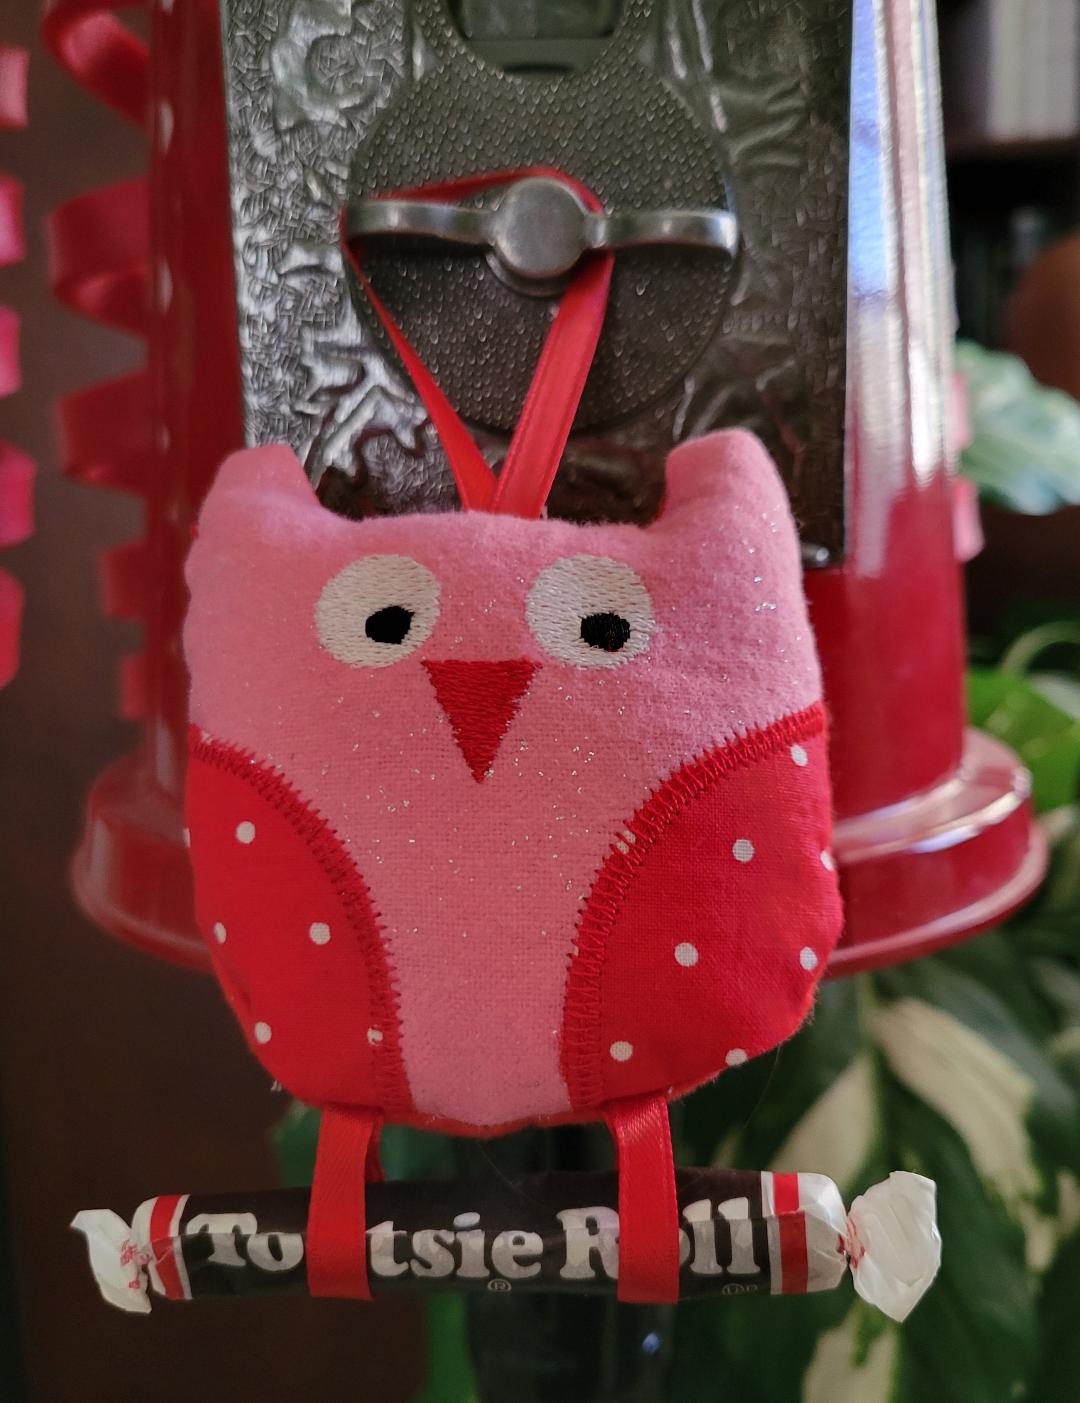
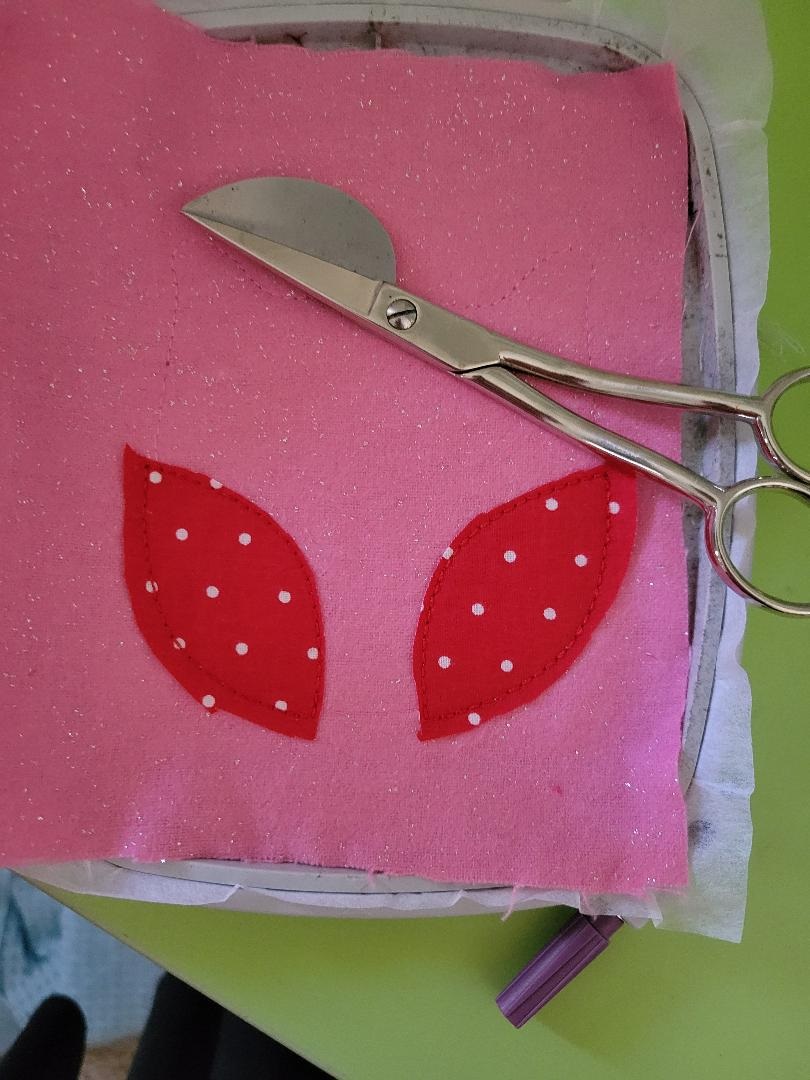
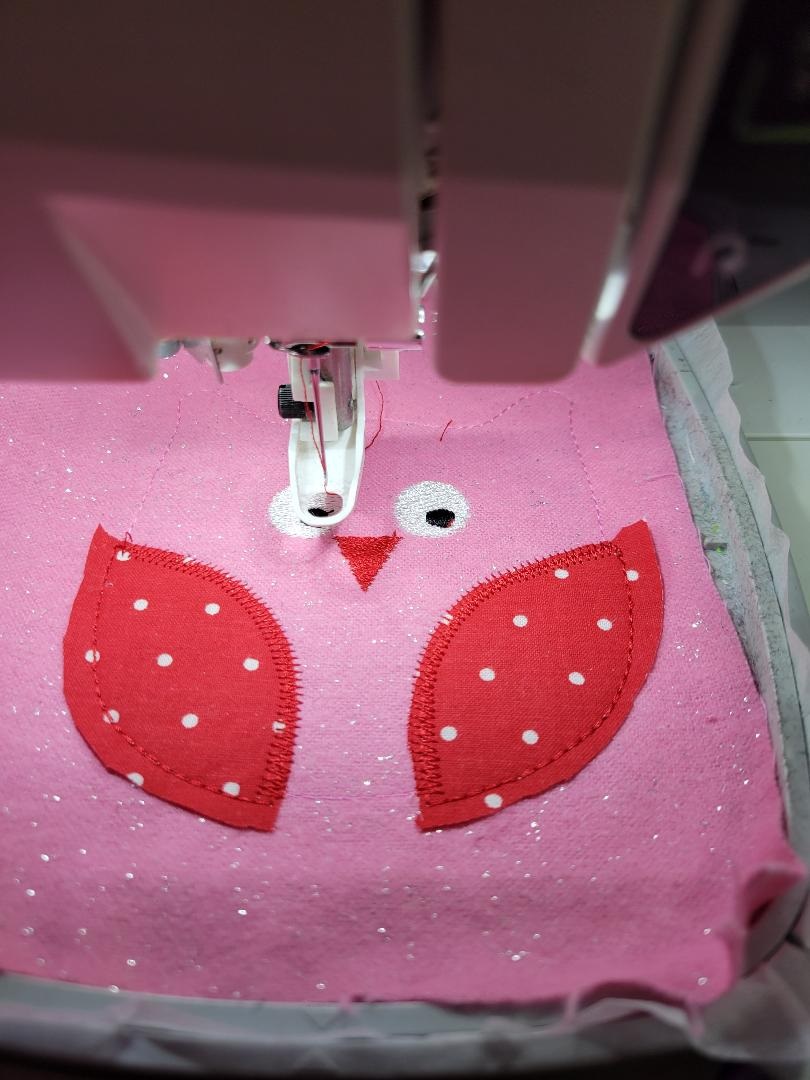
Owl ornaments are for any season or occassion. I never get tired of these sweet owls that deliver treats or rolled bills. It’s an easy in-the-hoop project that is perfect to use up scraps and bits of ribbon.
Step by step instructions with lots of pictures are included with the listing. https://www.sewchacha.com/product/owl-ornament-machine-embroidery-design-ith/
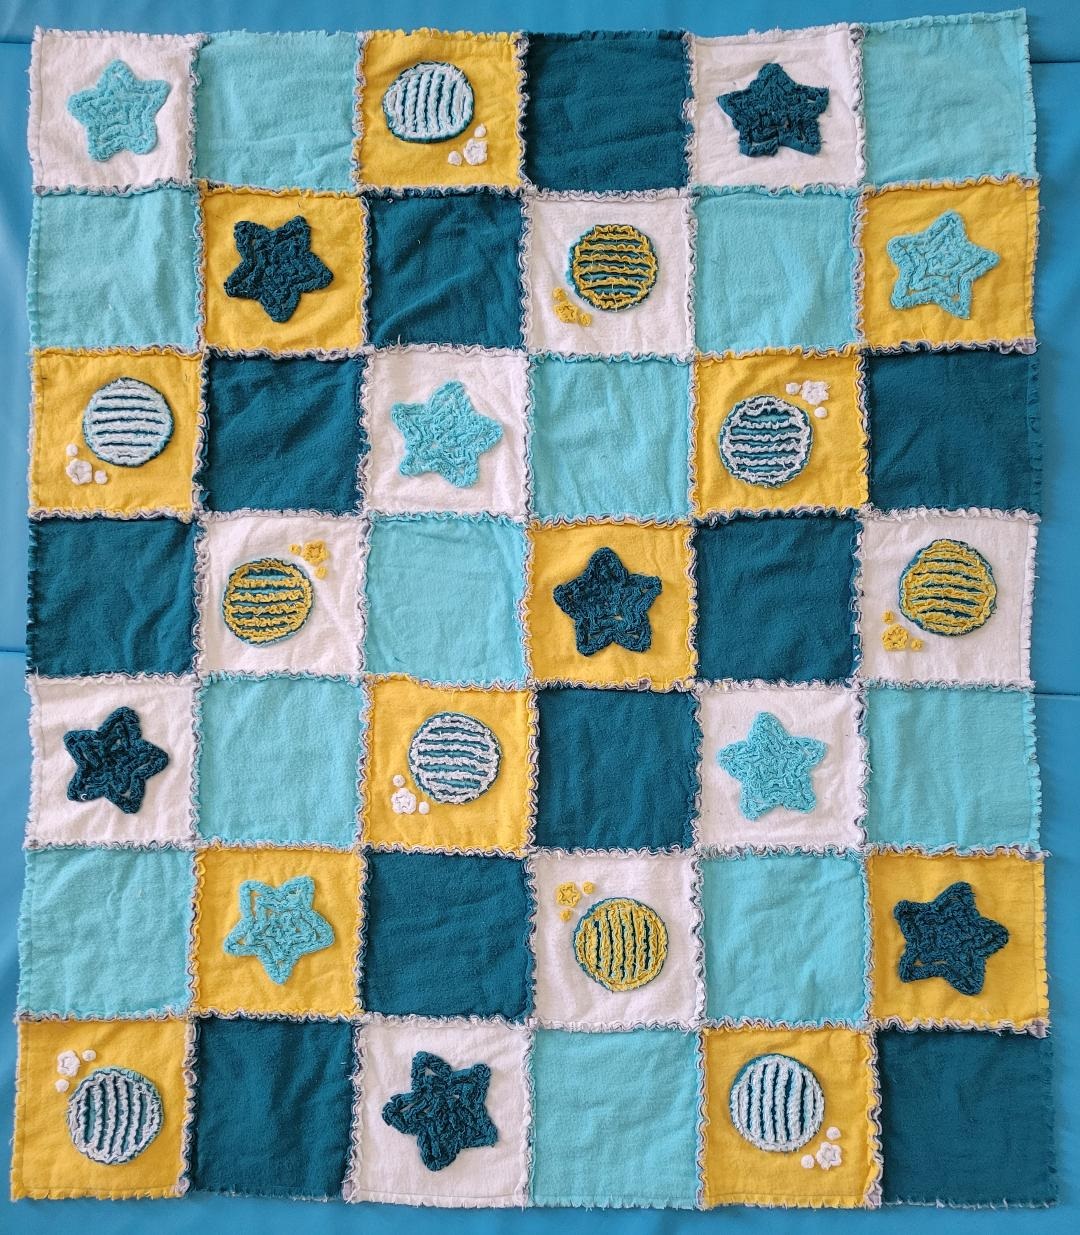
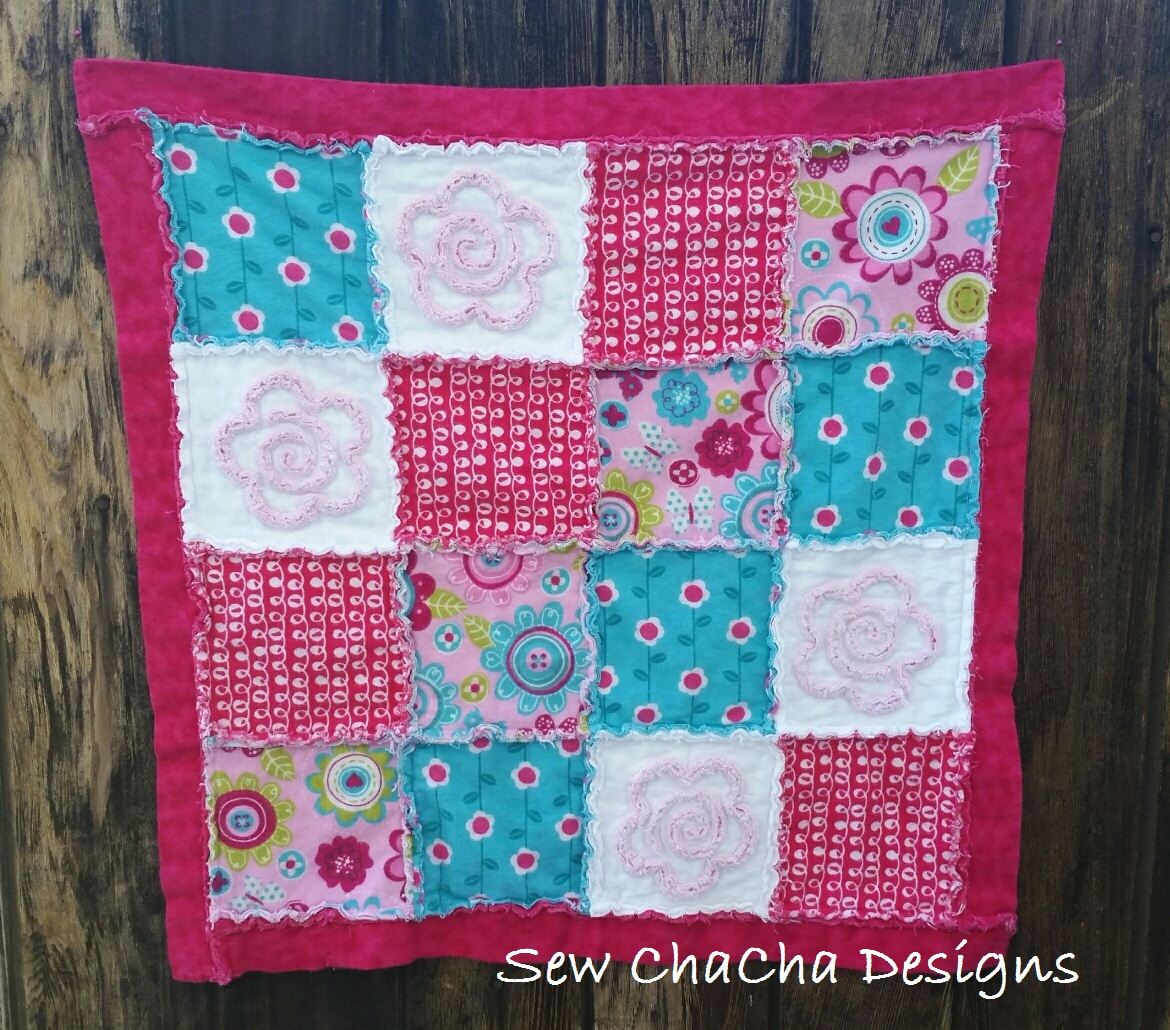
Making chenille with machine embroidery is fun and easy. I like to use flannel for chenille because it frays well and is soft. Chenille is perfect for baby quilts, rag quilts, decorative pillows, shirts and throws.
The most commom question I get about chenille is what type of thread should be used. Any embroidery thread for your machine will do because chenille is not made from thread. It is also not the same as a fringe design. It is made by layering fabric that frays.
Check out other chenille designs here: https://www.sewchacha.com/?s=chenille&post_type=product
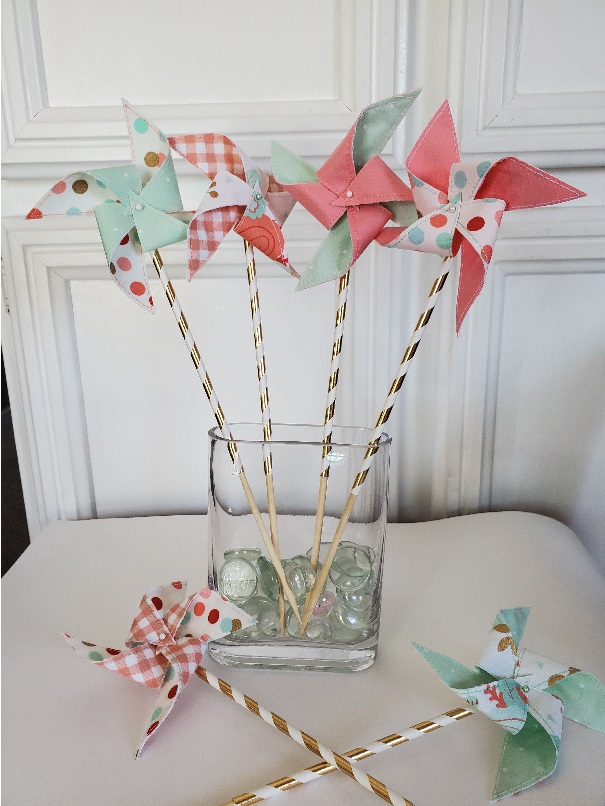
This is a simple in-the-hoop project that can be used in so many ways. Place the pinwheels in cakes to make them festive and fun or in planters for a pop of color. They are also so cute used as decorations for your home and for holidays. Full instructions are included with purchase of the embroidery design.
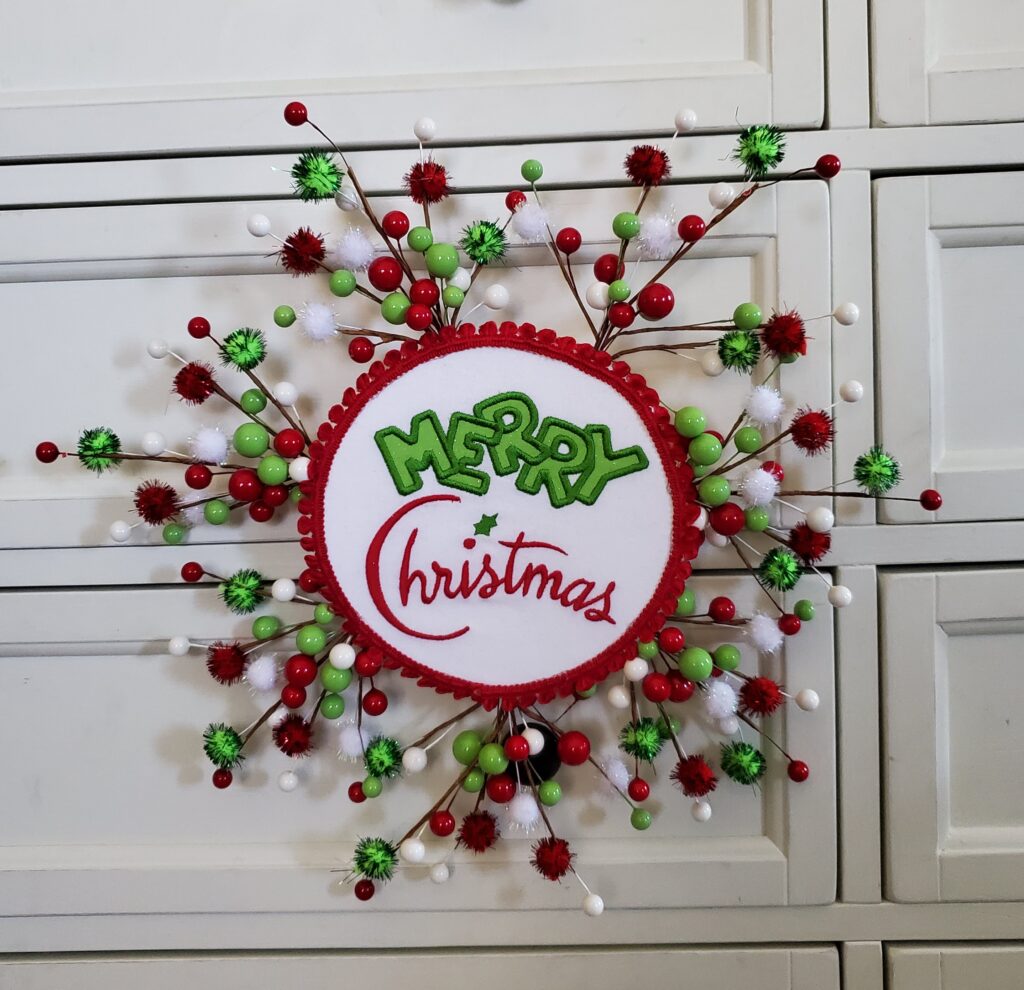
This is a project for those adorable Christmas sprigs! Why not add embroidery along the way?
I used a round piece of foam board for my base. Embroider the design of your choice on your fabric that will cover the base. Glue the stitched out design to the base. Add trim and sprigs. I glued another identical round foam board base on the back of the sprigs to hold it all in place. Next, glue a looped ribbon or other hanging device to the back. It’s ready be hung and enjoyed!
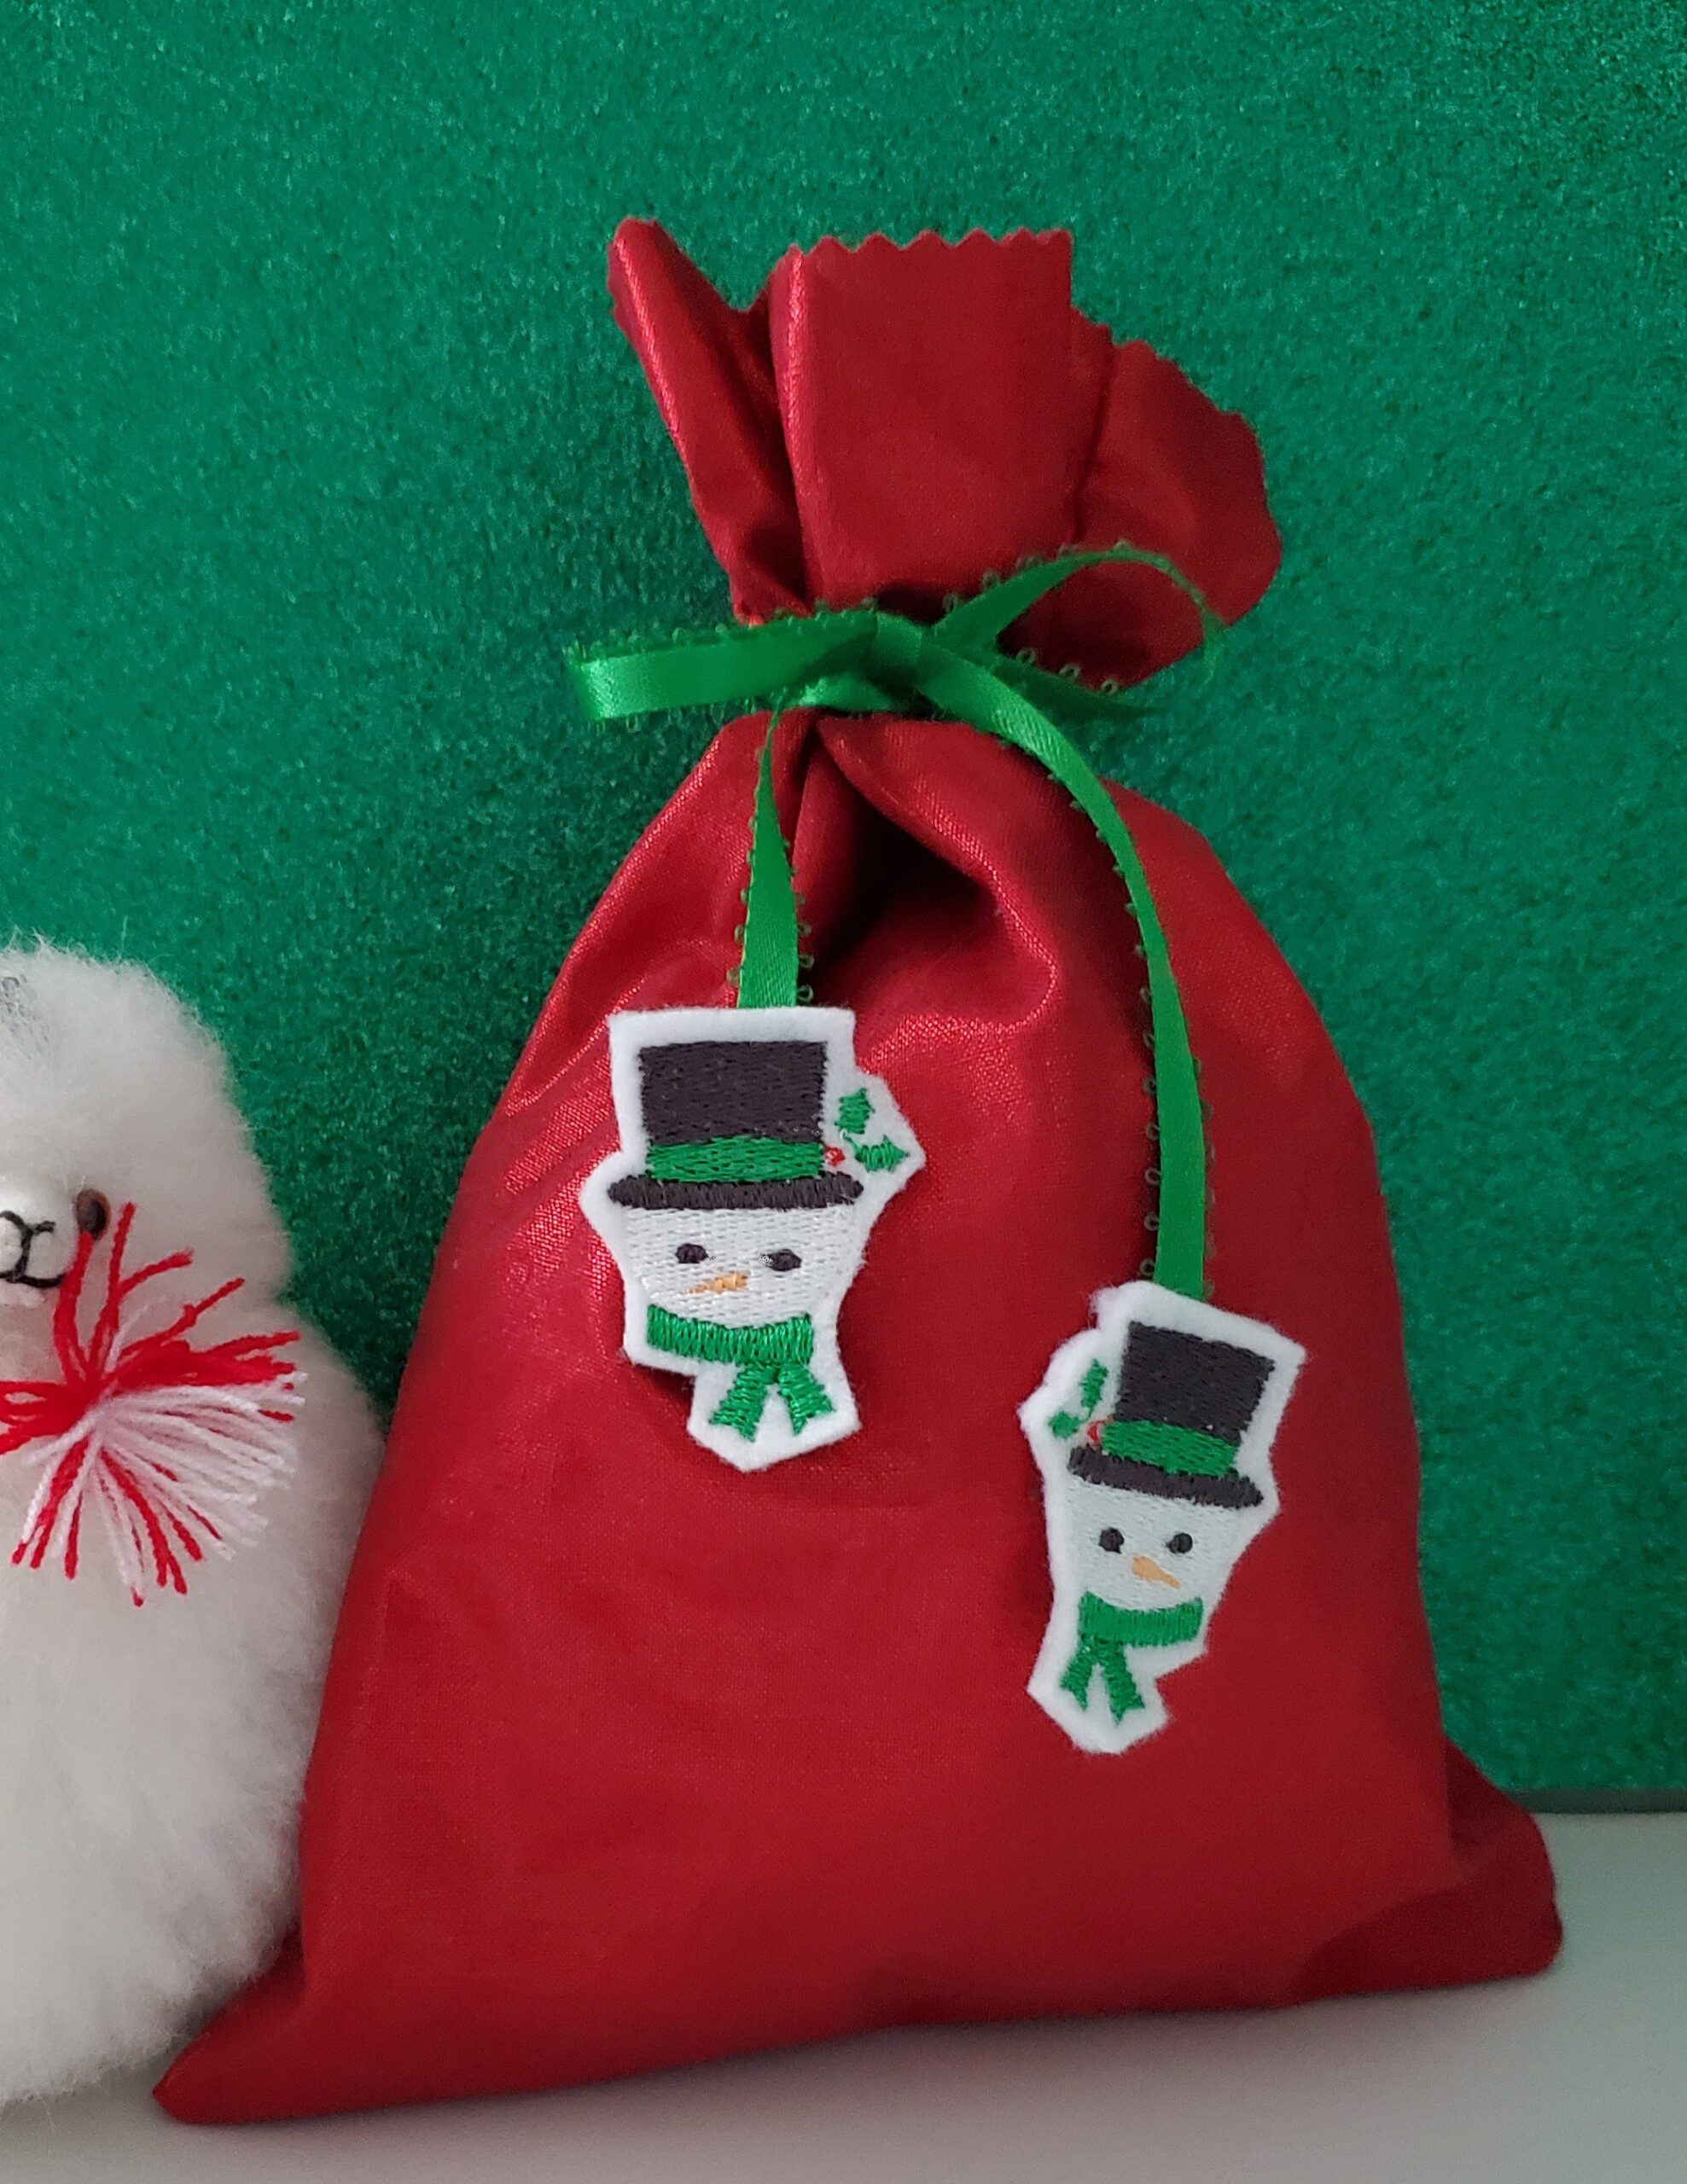
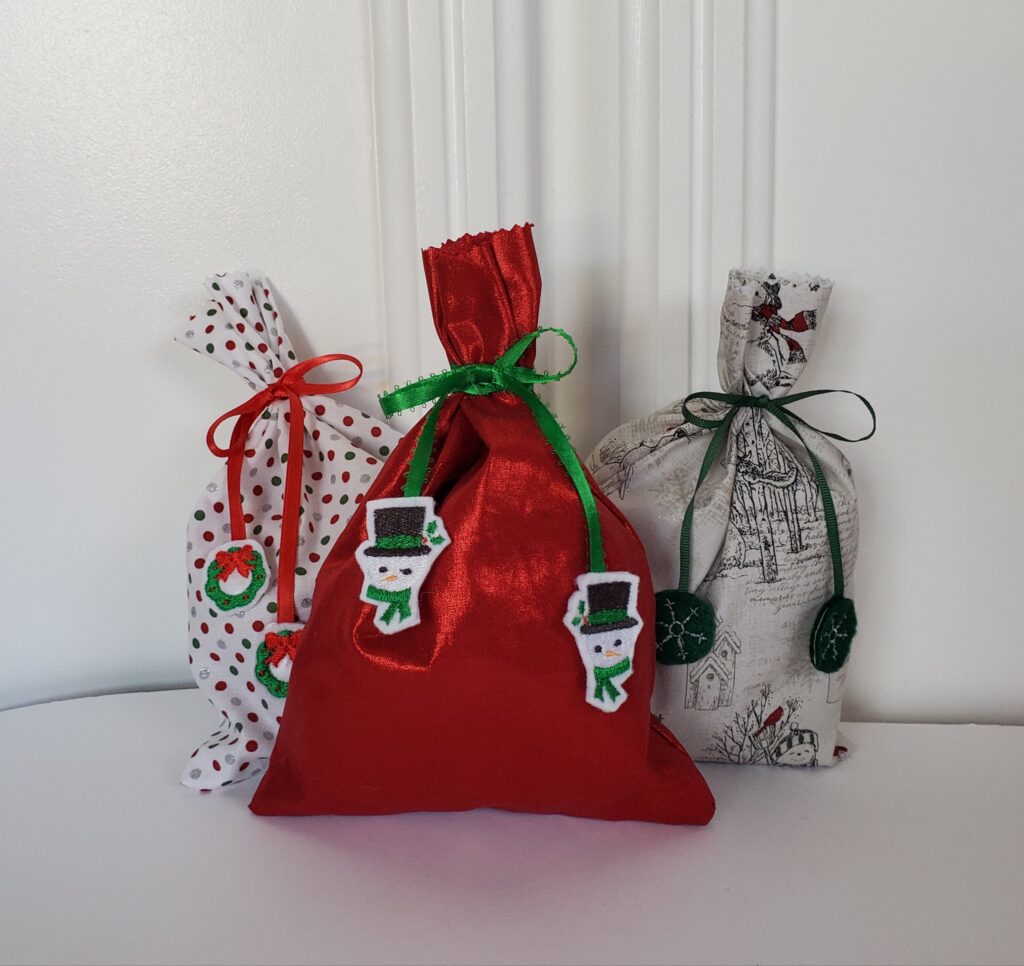
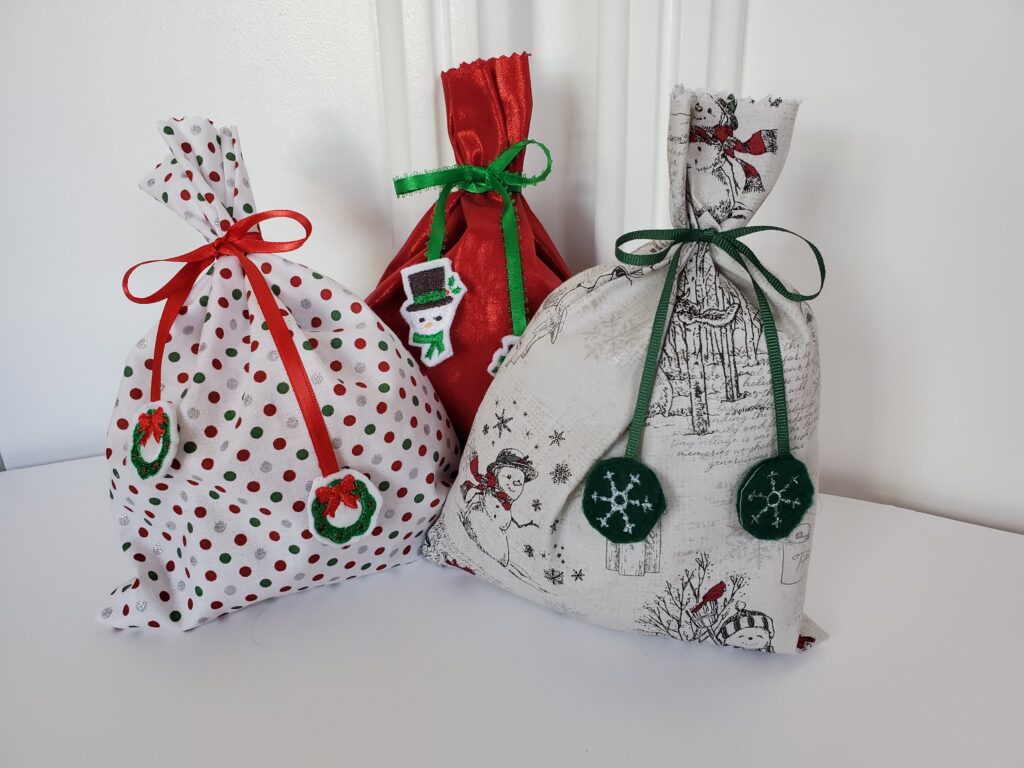
Add a little pizzazz to a holiday bag by stitching mini embroidery designs on the ends of ribbon.
Choose your ribbon and length. Hoop tear away stabilizer. I mark on my stabilizer using a fix stitch so I know exactly where the design is going to sew. Tape the ribbon to extend over the area that will be stitched and catch in the stitching. I put the tape above the stitch location so that I can peel it off easily after the design is done. Using a spray adhesive, place a piece of felt on the bottom of the hoop covering the area that will stitch. Secure a piece of felt that will cover the area that you will stitch on top as well. Place hoop on embroidery machine making sure that the felt is flat on bottom. Stitch the design. Repeat for the other end of the ribbon with the design moved to another location in the hoop where it can stitch completely. Once both ends of the ribbon have the design stitched to them, carefully tear away from hoop. Cut excess felt around the design being careful not to cut the ribbon. Tie the ribbon on your bag and gift to family and friends.
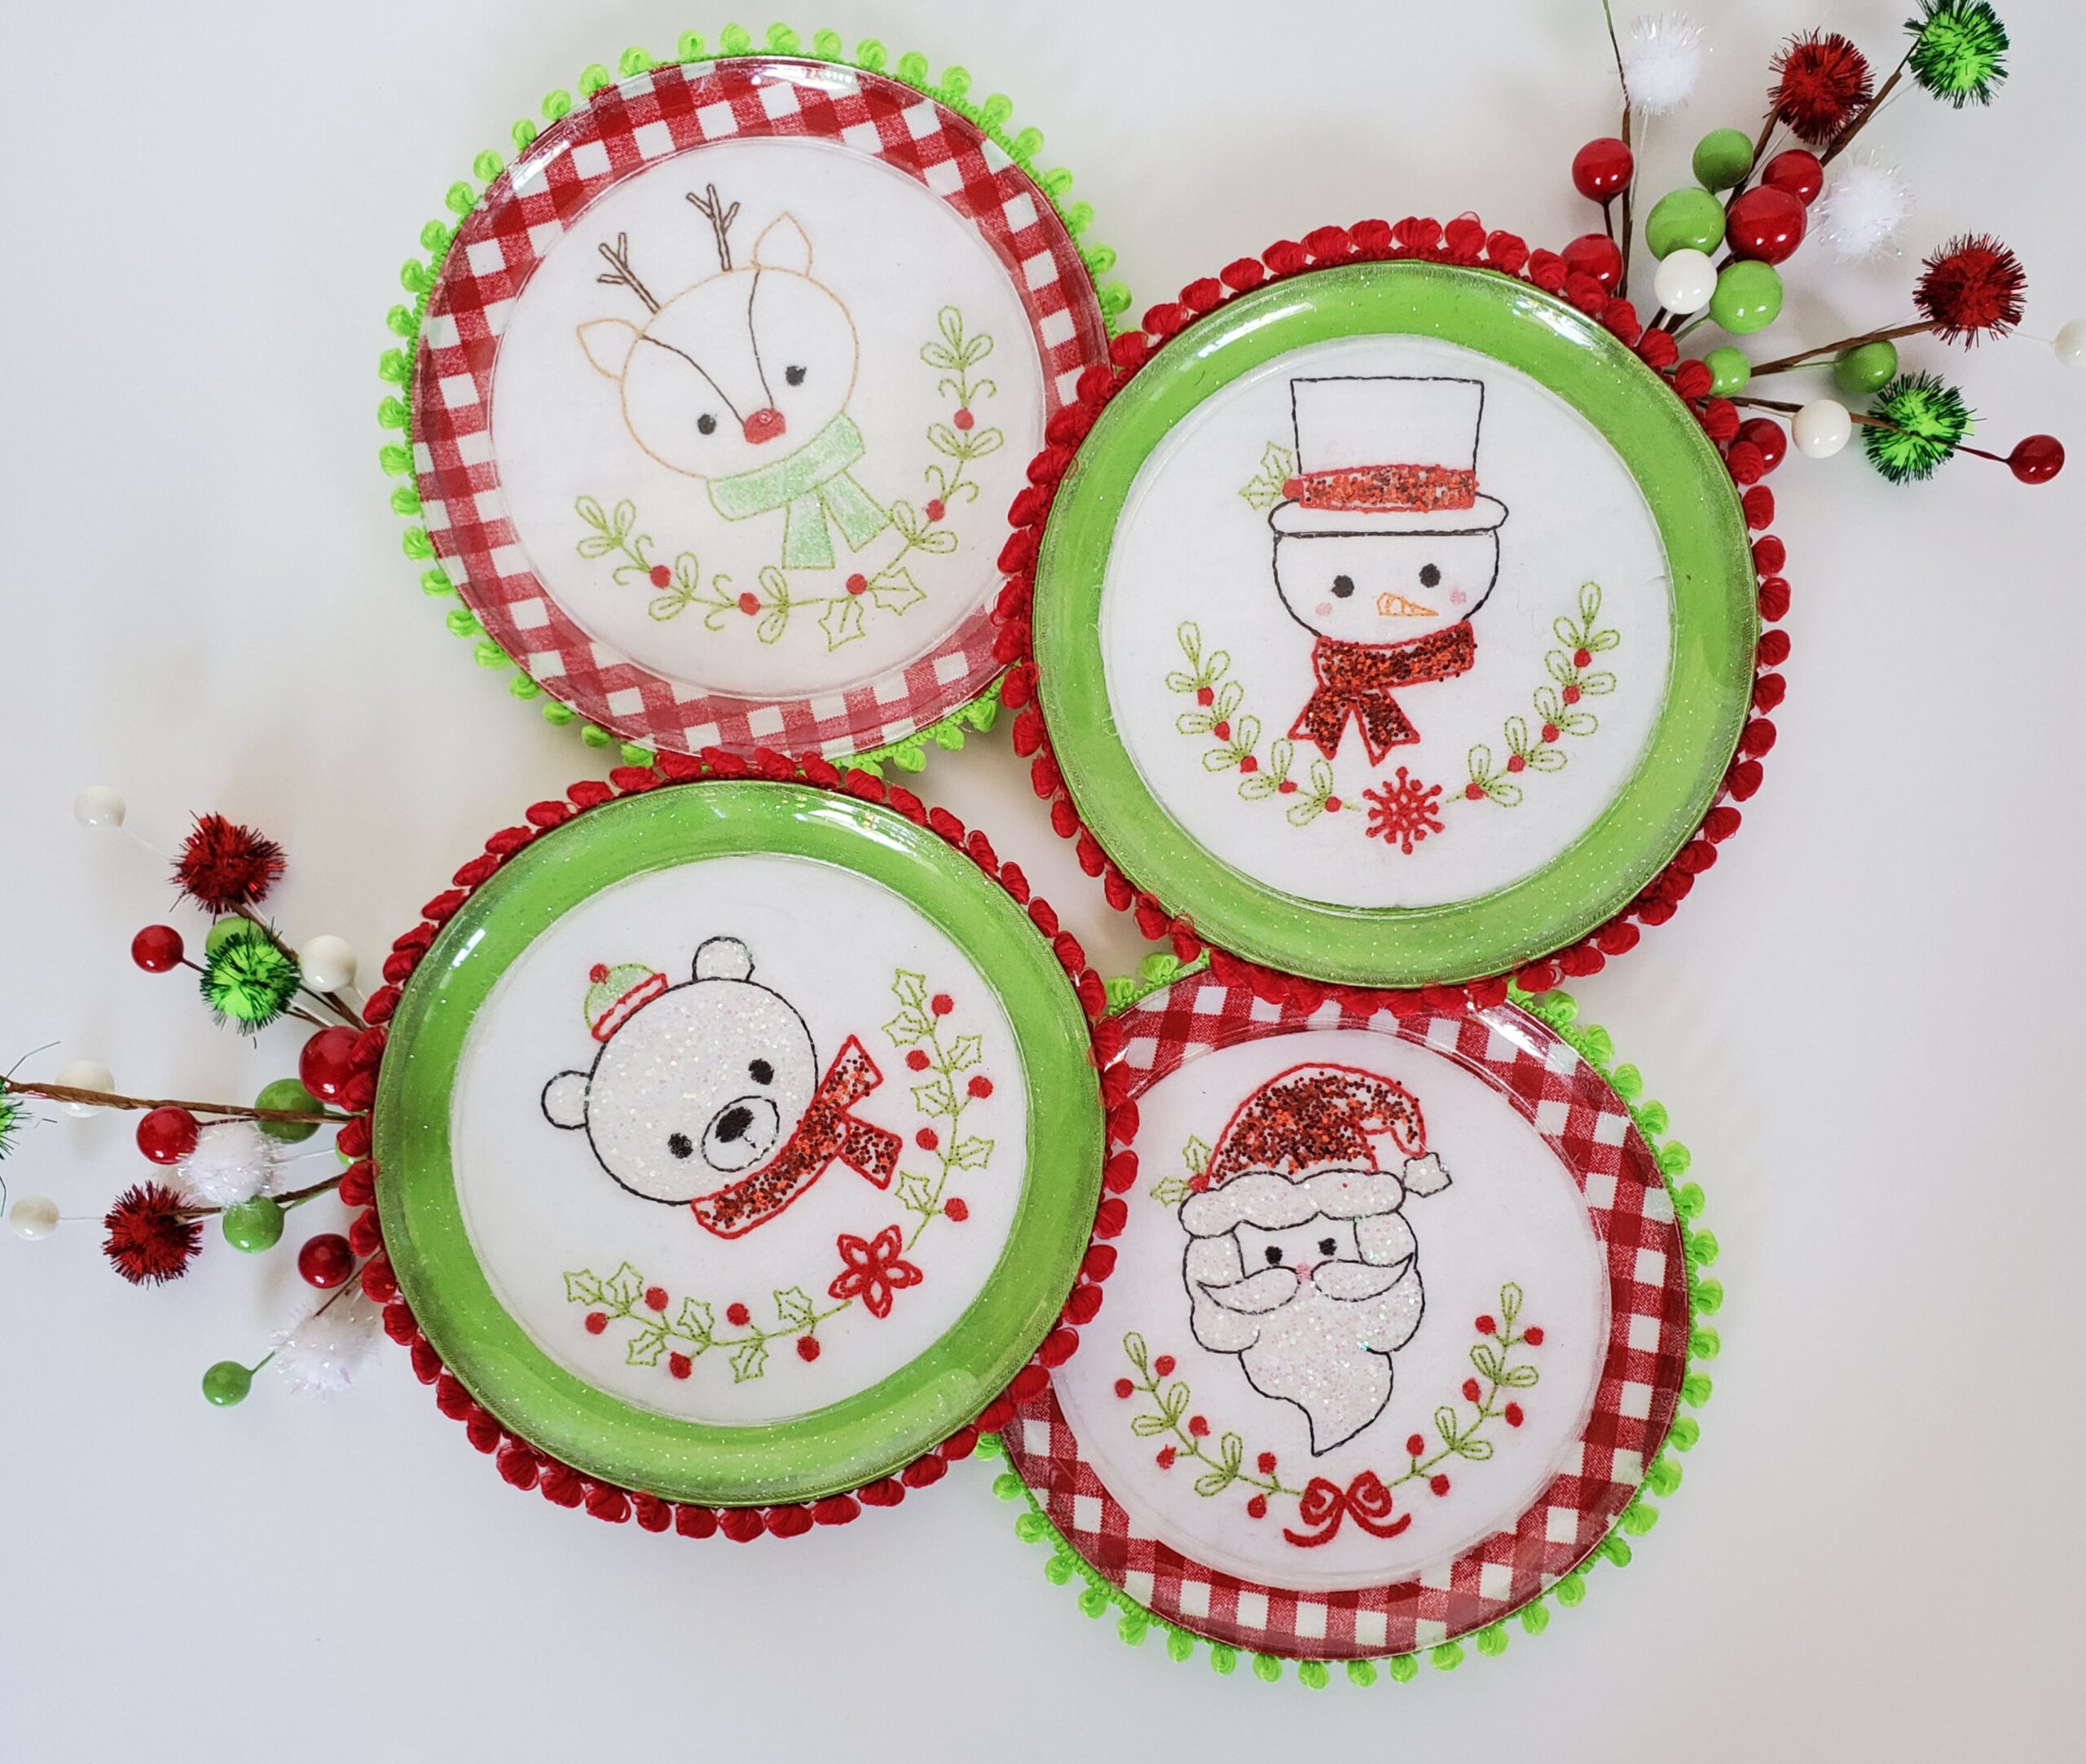
Simply Christmas Embroidery on Plates-Yes, Plates!
I love using embroidery in unexpected ways. Here’s an idea to make boring plastic plates a little more interesting. This could be done with clear glass plates also. These plates are great for parties, cookies for Santa, neighbors or even for wall hangings and ornaments.
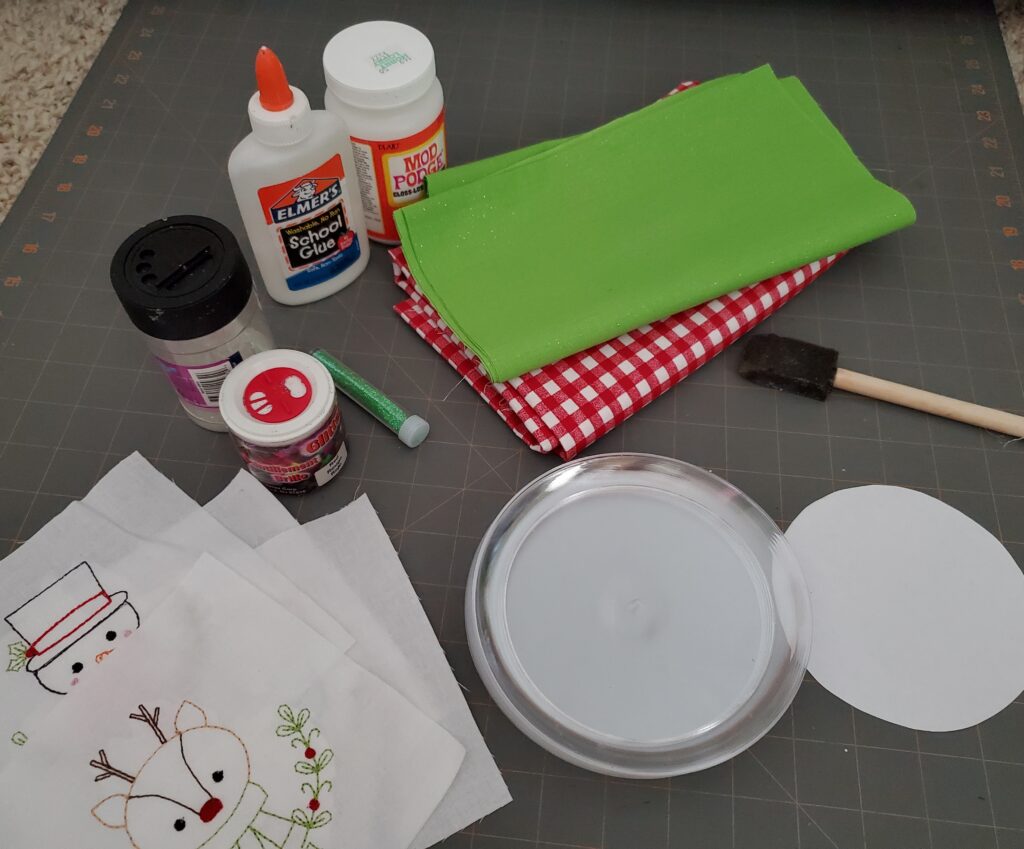
First gather some supplies.
You will need:
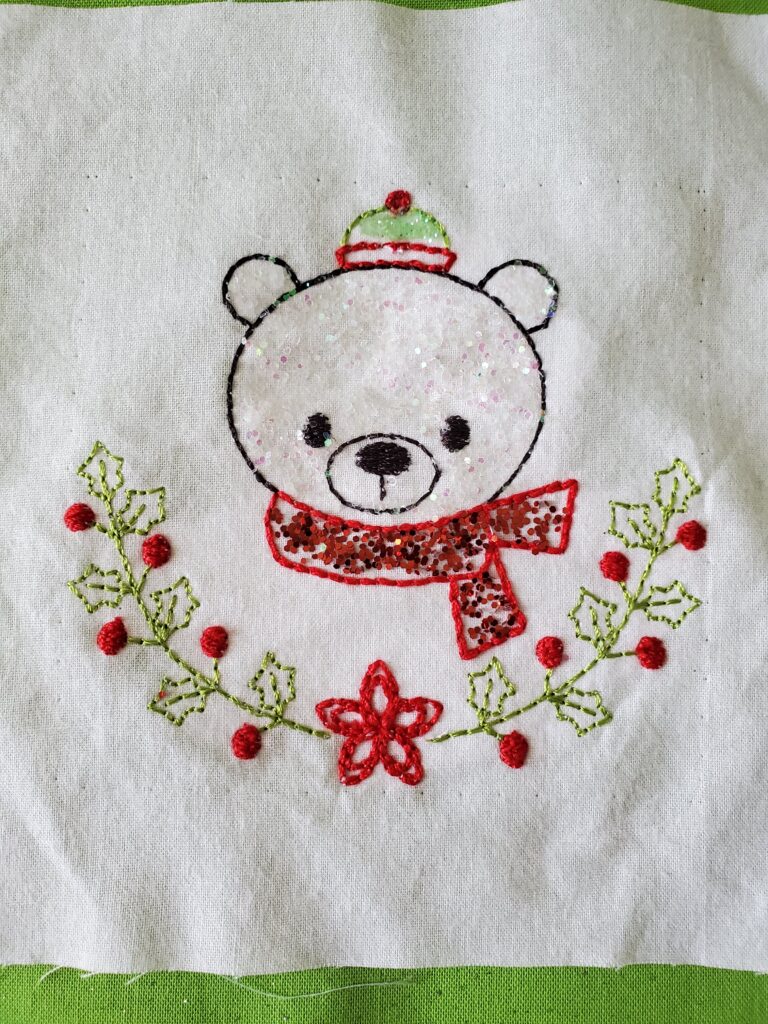
Stitched embroidery designs. ( I used simple designs that I could glitter, but any design will work.)
Plastic plates
Mod Podge and foam brush
Glitter and glue (if desired)
Fun fabric to frame embroidery design
A piece of paper cut in a circle that fits inside the back of the plate
Trim and hot glue gun (if desired)
Once the designs are stitched, add glitter with regular glue and let it dry.
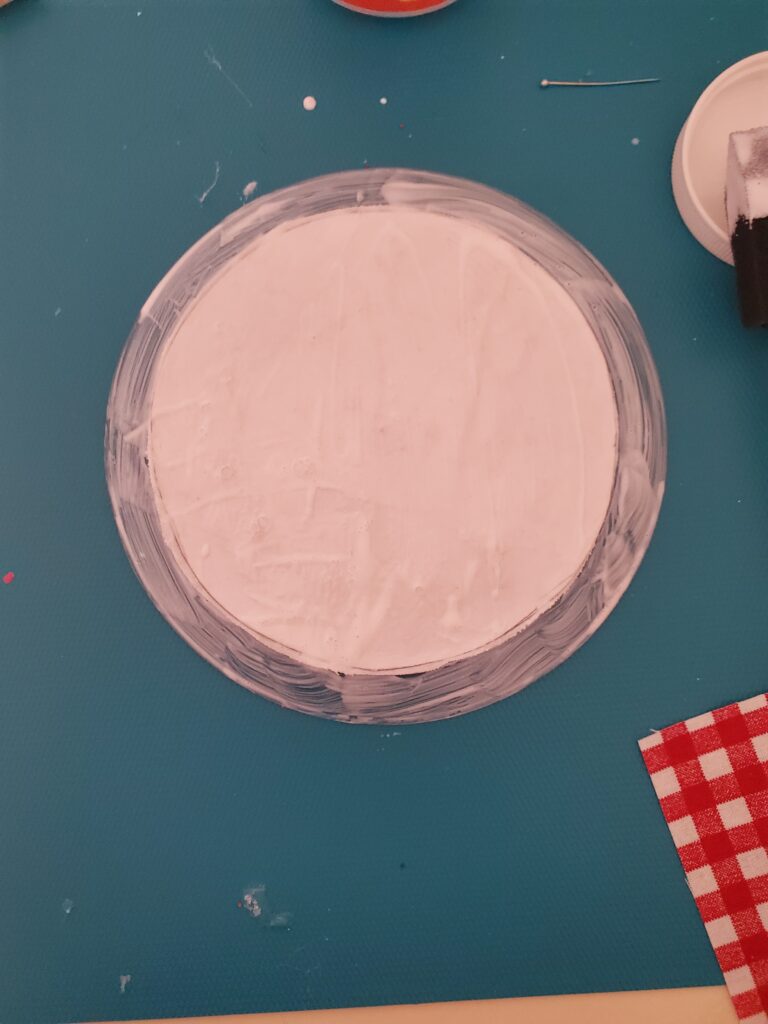
I then cut a piece of paper the size of the back of the plate. Use this paper cut out to use as a size guide to cut around the embroidered design. Use your foam brush to spread Mod Podge on the back of the plate where your embroidery will fit.
Once your surface is covered with Mod Podge, place your embroidery right side down on the plate so that it will show through to the front side. Smooth out any bubbles in the fabric so that the embroidery is flat against the plate. The Mod Podge will dry so that the embroidery will be clear. Set the plate aside until the Mod Podge is dried completely. (I missed taking a picture of the just the design on the plate before the next layer of fabric was placed. My apologies. )
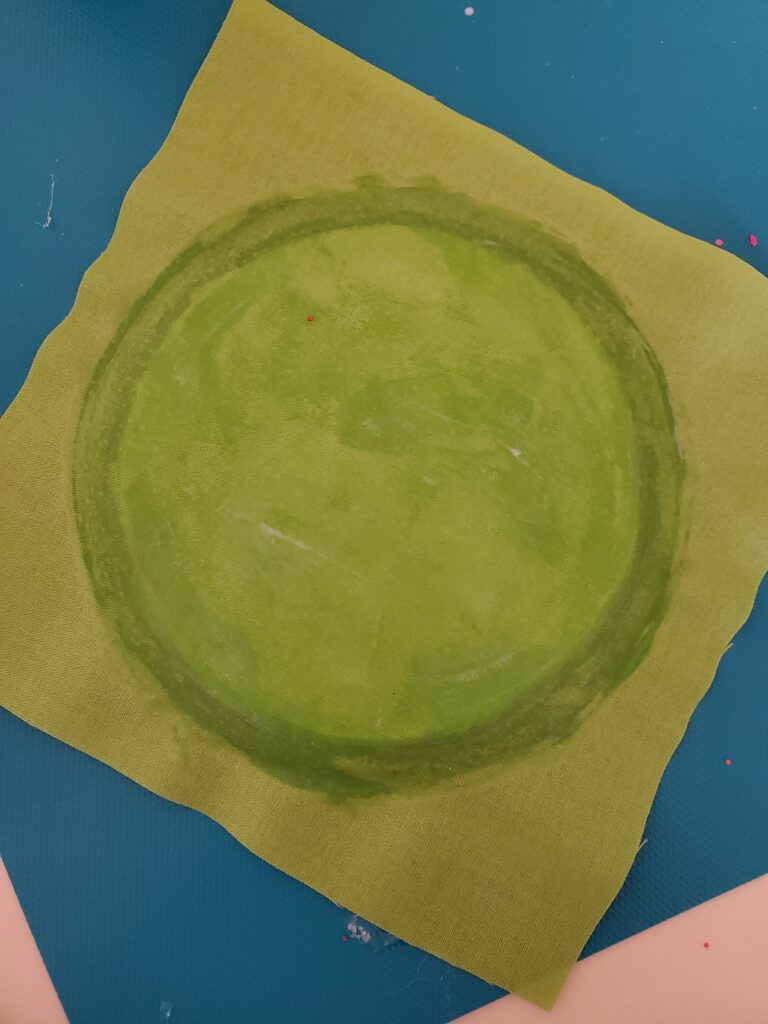
Pull out the Mod Podge again to adhere a layer of fabric colored or patterned fabric. I like to cut a square of fabric that will cover the back of the plate for this part. Circles will do, of course too.
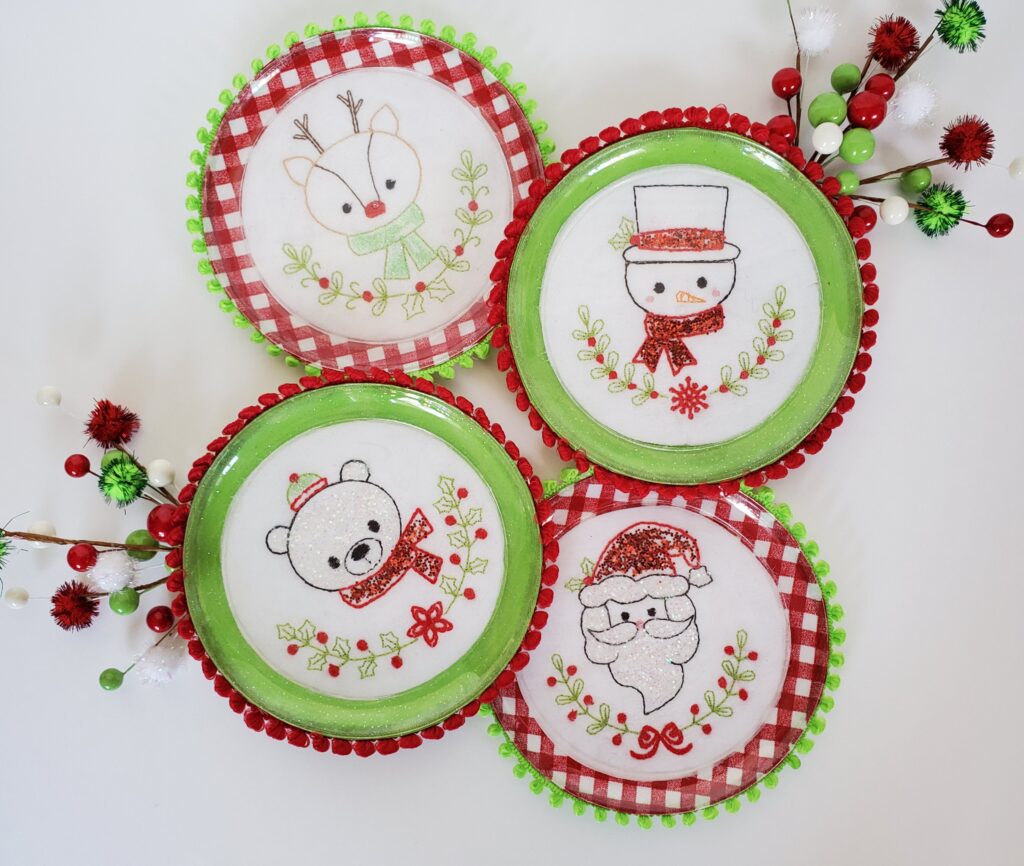
Smooth the fabric over the back of the plate making sure that the plate is completely covered and that the fabric is adhering to the edges of the plate. Set it aside and let it dry completely. When it is dry, trim off the excess fabric from around the edge of the plate. At this point, you can decorate the plate further or leave it as is. I chose to take it one step further and added trim with hot glue.
Festive and fun to hang or give away! The designs featured in this post can be found here: https://www.sewchacha.com/product/simply-christmas-machine-embroidery-design-set/
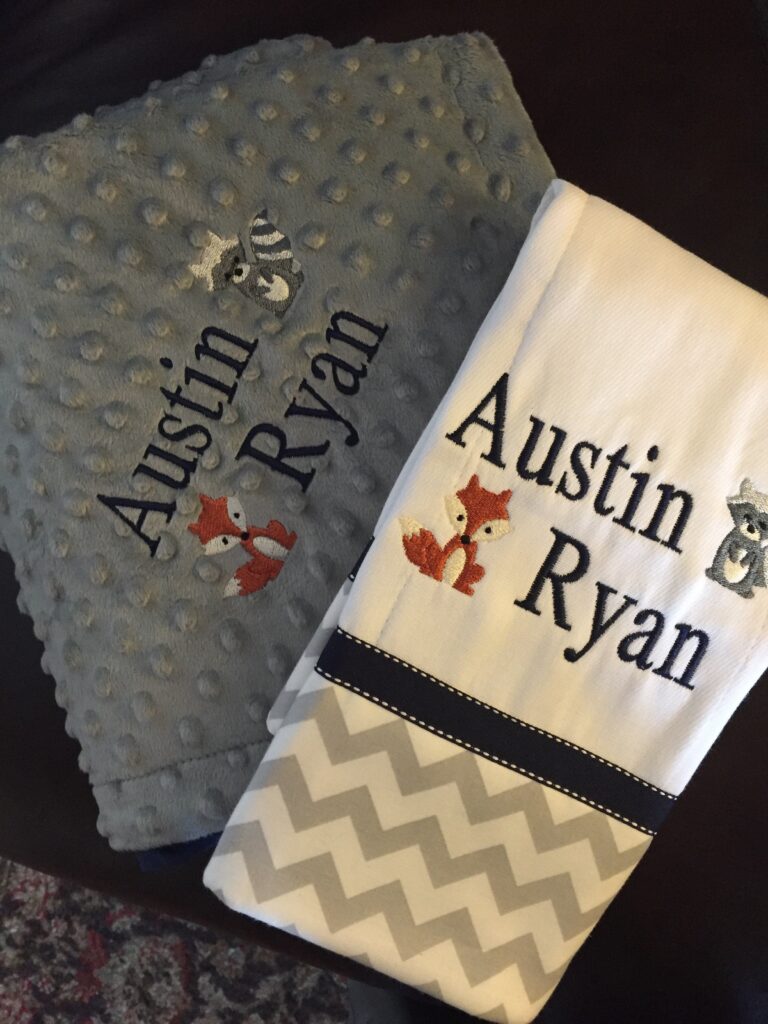
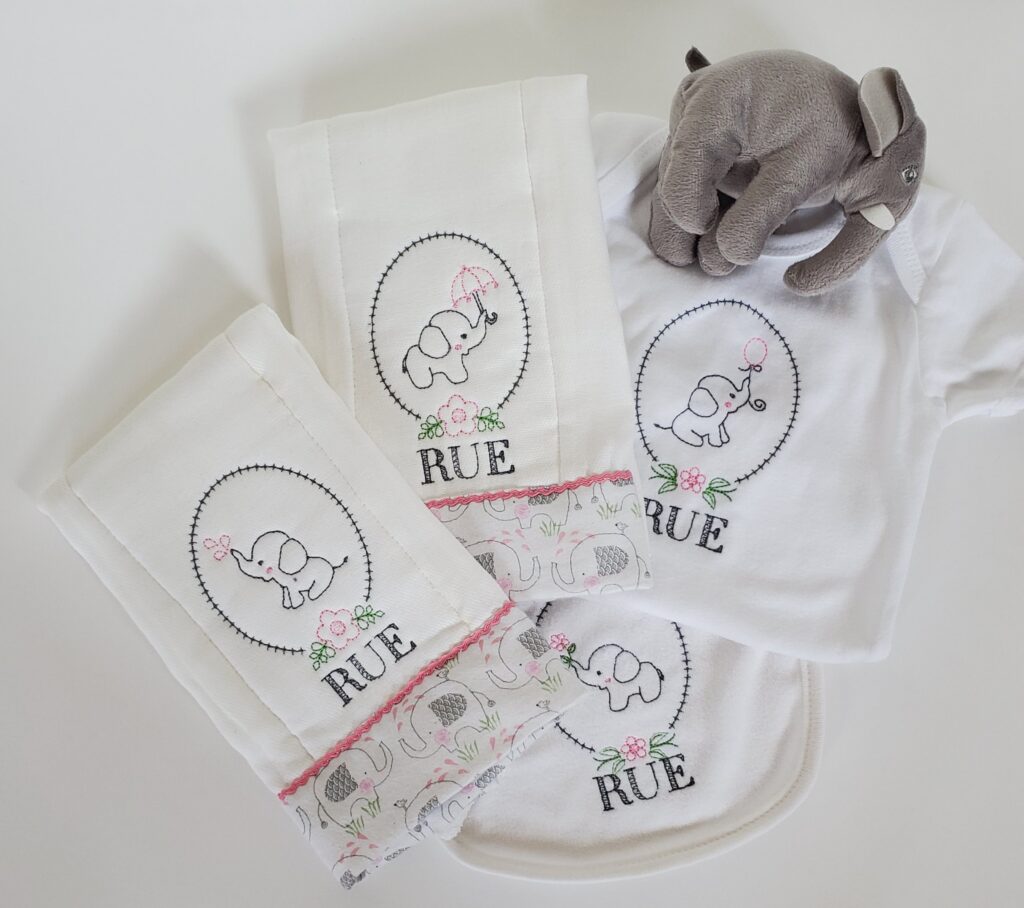
I love this baby gift set using animals from the Mini Woodland Animal 2 Set. https://www.sewchacha.com/product/mini-woodland-animals-2-machine-embroidery-design-set/ Thank you Debbi for sending it in! Adorable!
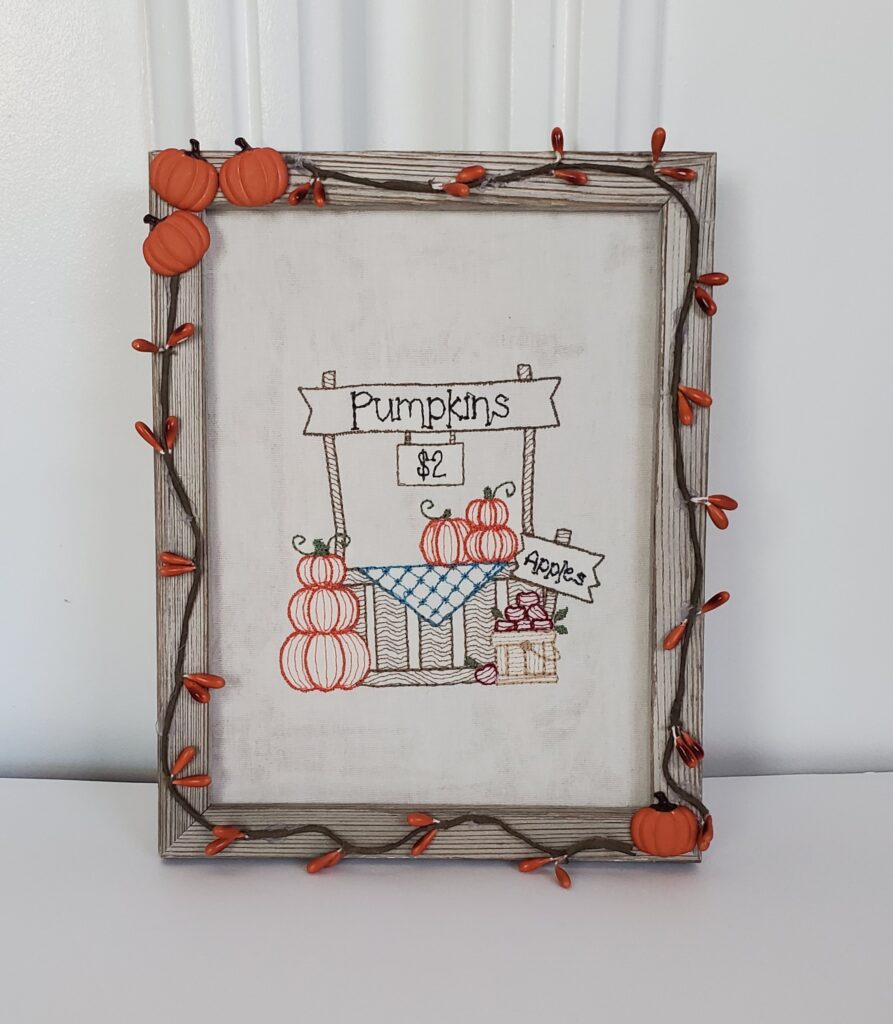
I love autumn decorations! Here is a simple idea to combine embroidery with your fall decorations.
Find a frame that you would like to use for your embroidery. (I found a framed saying from Hobby Lobby that was on clearance.) Remove the back so that you have just the board to mount a picture on. Stitch out the size of the design that fits best into the frame on fabric that will comfortably cover the board. Once the embroidery is finished and threads trimmed, stabilizer removed, I use Mod Podge on the board to secure the fabric. I did not Mod Podge on the top on this particular design but for a bit of a shine, use Mod Podge on top as well. When it is dry, replace the board in the frame. I hot glued decorations around the frame to add texture and interest. Make a whole collection!
pumpkin stand quick stitch machine embroidery design